Showing posts with label stitching. Show all posts

Thursday, 26 February 2026

A daily stitching habit …

 I thought the practice of adding things to Lent is an interesting concept. I usually give up things - this year it is chocolate & it is going well so far. It is about discipline to fore go things you enjoy. I have managed it in the past so will keep going. Alongside this, several sites encourage 'adding to for Lent' and I thought 'why not?'. 

Who else has a needle book with lots of needles threaded in random cotton from previous projects? 

I have intentions this year to do some regular stitching which improves stitch memory by simply stitching without an end goal or pattern. There are several social media groups who do this but sometimes your own discipline is just as good without any pressure. 

I saw this craft stencil on eBay & it immediately seemed to be a shape that could be used for short stitches on a regular basis because it is quick to trace the shapes. 

I cut some plain off white cotton fabric, joined it in a long panel to use. I hope to do more stitching this year as time allows & the small shapes can be done in a few minutes. It is not a large shape looming when time is tight. It will be stitching only, no additional fabric. 

It will be trimmed when finished so it can be attached to a vintage industrial wooden roll / bobbin, the type that was used in mills in previous times. It can join some of the other sewing rolls I have already  finished, like this one of the NC500 in Scotland, and a mixed media scroll

The heat eraserable Frixion pen is so useful because any heat, even a hair drier, will erase the outline. The stencil can be rotated so the shapes are slightly different which is very useful. 

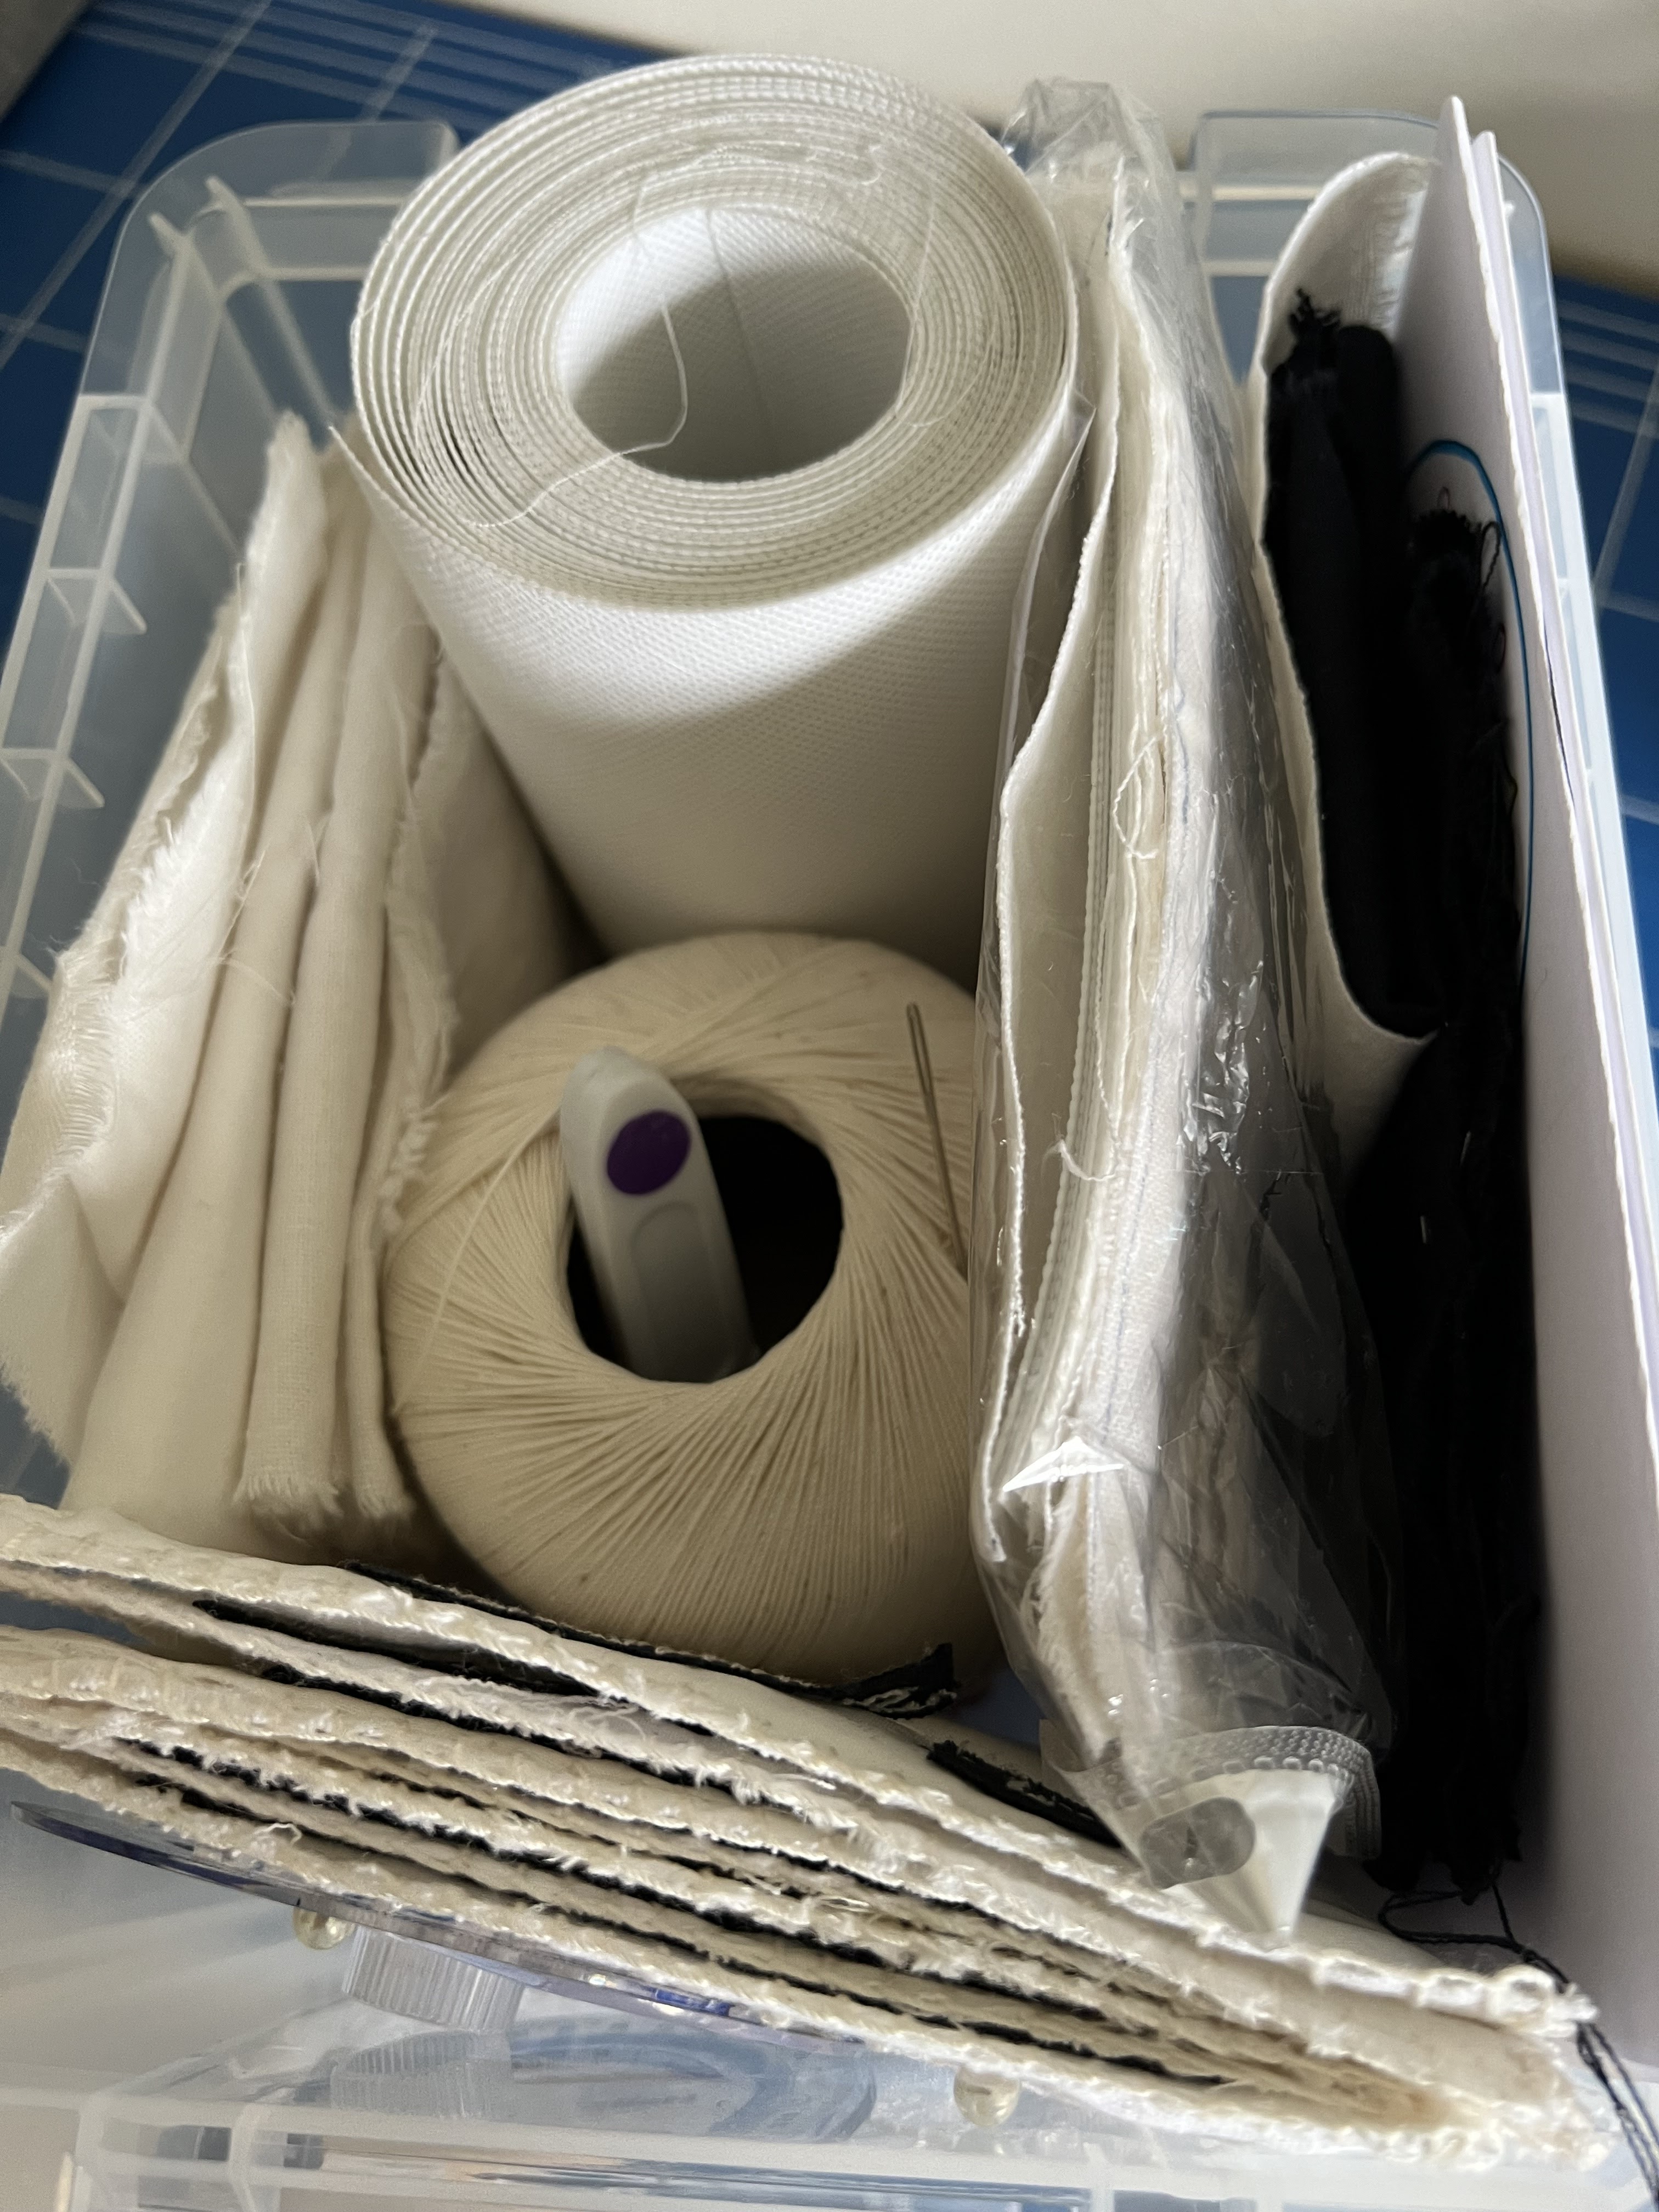
I hope this will inspire me to try out more stitches but  regular practice is important. The blank spaces can be filled with any stitches so it is a great creative exercise. I intend to use various lengths of threads from my miscellaneous thread box. I think we all have some of those threads in shorter lengths, weights & colours. This is a great way to use up some of them. 

I hope you are inspired to spend time doing something you enjoy too. 

Thank you for stopping by, it is always appreciated. 

Dee ๐Ÿงต๐Ÿชก๐Ÿ“

Sunday, 7 July 2024

#7a Circular stitching all up to date so far ...

This circular stitching challenge for the year is incremental - one challenge per month, with no advance suggestions which makes it interesting. It  has a set requirement of 6x6 inch squares with a 4 inch diameter circle in each - that is all we know before each months challenge is released on the first of the month by Paula

That makes it very doable because you have the whole month to finish that months challenge. 

When I started in January, I cut 13 squares for the fronts, the same for the backing & bought a large roll of embroidery / thin crochet cotton to do all the edges to keep it uniform. Each months has to have a stiffener in between the layers (pelmet stiffener - a new one for me) and I cut all of them as well & the 3 layers are stored in a tub just for this challenge. 

I know I am more likely to finish the project if it is all prepared & I just have to do the circle, and that depends on the challenge set. 

The sides have to be bound with a blanket stitch, we do not know how the finished set will be bound together which makes it interesting. 

My front squares was cut from some lovely linen, however, the edges are prone to fraying so I have machine stitched 3sides of each together, cut & inserted the stiffener, then machined the 4th side before over stitching all the edges with blanket stitch. The row of machine stitching gives a firm row to do the blanket stitch from which has solved the linen fray problem. 

After stitching the 7th challenge, I machined, then handstitched before deciding to do the lettering for the last 4 challenges on the back (my choice) so I know what each challenge was. 

Fortunately my second machine has lettering (that was a deciding factor when I bought it off a friend who was upgrading). However, I still have to look up the process each time when changing the machine feet for it.  

I saved a length of black fabric to do the lettering for all of them. For some reason, the under thread bundled up a few times & it had to be cut loose which then messed with the lettering order but once I changed bobbins, it seemed to resolve itself. 

Machines, particularly electronic ones, can be more temperamental than the bog standard ones (like my old one I now have set up for free motion embroidery. 

The name labels were glued on to the reverse of each with fabric glue & it is all up to date now. 

These challenges have been interesting, with new techniques but that makes it exciting.  It also depends on your creative skills to adapt to the challenge in a unique way. 

1 - Snow blanket 

2 - Conceal  & reveal 

3 - Renewal 

4 - New Life  alternate nest 

5 - Blossom Time 

6 - From Source to Sea 

7 - Radial Symmetry 


Are you tempted by such things but don't complete because you run out of steam or interest? Tell all ... 

Dee ๐Ÿงต๐Ÿชก๐Ÿ“

Thursday, 4 July 2024

#7 Circular stitching - radial symmetry

The 7th challenge in this year long stitching project made for interesting reading. Plants have radial symmetry & the challenge was to show this in stitching. 

Number 6 with the previous ones is here  

All of them have been interesting,  mostly out of my comfort zone but that is how we learn & grow. 

The suggestion was to use a crochet doily as the base circle but none of mine were even vaguely close to the circular size of 4 inches in diameter on a 6x6 inch square.  I have not really had to draw such a complex shape & so it needed thought - that is one of my strengths - improvising. 

Some early starters on the facebook group drew mandala's & embroidered those. Again, not an easy shape to draw on to fabric & I have not done mandalas before.

I found a mandala shape online, copied it to a Word document in 2 sizes, hoping one would be close to the right diameter & printed them off. 

How to trace it to the fabric?  I spied a pack of A4 freezer paper I had bought to experiment with but had not used so I scanned the sheet with the mandala's & printed it to the freezer paper sheet. It worked - phew. 

The instructions say iron the glue side to your fabric so that is what I did  & it stuck. A massive sigh of relief.

I have my embroidery threads sorted in containers by colours so I selected the pinks / purples / lilacs / greens & took them to the conservatory where the light is so good. 

It seemed right to select 3 colours for the flower shape & each colour was stitched, then the second & third. I used greens in the centre & around the inner circle shape, then a different green in  running stitch to give a lightness to the outer edge.  

The little circles were going to be French knots but they were lost in the shape so out they came & satin stitch worked just fine. 

It was finished in just a few hours - a relief as it was a shape I did not know how to approach first of all. 

I am especially pleased that the back is almost as neat as the front & that is a big deal for me as I am not a neat embroiderer. My Mother's used to be almost the same on both sides & I was always in  awe of her skills. Mine is improving & that is good. 

I still have to stitch it to the back panel, insert the stiffener & then finish up the fourth side. I need to machine embroider the names of the last few months for the back of those - white thread on black to match the others. 

Do you take on random challenges that are out of your comfort zone? I was not sure I would manage to do this year long one each month but having a month to do each one has made it manageable & more importantly, it has challenged me & that is always a good thing. 

Thank you for stopping by, your company is always much appreciated.

Dee 

Wednesday, 31 May 2023

Perfecting some new stitches in a baobab tree ...

Hi all, 

Do  you have an iconic image that pops in to your mind when you think of certain time frames in your life?

My early life was spent across several Southern African countries & one of the abiding images is the majestic baobab tree.  They are distinct, easily seen from afar with their bulbous shapes; some tall & upright, others stumpy & huge in size, all very easily identifiable . 

They have long fruit that has become a super / health food

I recently spent a week again doing an online Making Zen workshop courses - 20 talented artists sharing their knowledge & expertise over the week with videos, online workshops & workbooks to help. 

I have long admired the artist Mirjam for her creative stitching. Last year, she taught an original blanket stitch that I have not yet mastered & this time she taught us 'stacked running stitch' & it has opened up a world of possibilities. 

I decided to do a baobab tree combining several different stitches, while keeping the thread colour quite muted. 

I often buy skeins of thread in local charity shops because I love the colours, & it adds to my stash so I have colours on hand for my creative time. These variegated threads seemed perfect. 

Using skeins allows you to take 1-6 threads from each & I combined several colours to give a slight colour change as recommended by Mirjam. 

I then did her closed blanket stitch on top & added in a few fruits too. The base needed something so I added a bolder few bits of grass. 


I think it might still have some beads but it is a very relaxing project to hand stitch & the colours are very easy on the eye. 

What do you think? Do you have an iconic image in your mind? 


Thank you for your company, stop by soon for some of the other Zen projects, 

Dee  ๐Ÿ’•