Showing posts with label hand stitching. Show all posts

Tuesday, 4 February 2025

Learning to stitch portraits ...


I love to take advantage of online courses & recently joined a 5 day stitch club portrait workshop. 

I have long admired stitched portraits but always find facial features to be difficult so I was keen to follow along & learn the techniques needed to produce something vaguely recognisable. 


A choice of threads - which skin tones are needed?  I kept the colours I selected together because I knew I would return to do her portrait & wanted a continuity across the two. I used some silk threads too for his hair which gave a softness to it. All the outlines is in a single strand of thread only. 

We had to choose a photo that was about 6x8 inch large & I looked around & then my eye fell on to the one of the great grandparents. I had taken a photo of the framed image that hangs on my wall (the 4th generation to have it) and they seemed like the best option. 

I assumed that I know them because I have seen them daily for most of my life but looking carefully at the photo really gave me insight in to details like the colour of their eyes, their clothes, his watch chain & waistcoat, her brooch on her dress ... 

The technique is basically to trace an outline of the image - I scanned the photo for ease, then trace it on to paper or directly on to the fabrics.  A few months ago, I bought a flat bed light box cheaply off ebay - it uses a usb power supply & while it is not the most powerful light, it is adequate. 

I split the image in to the head / face / neck as one shape in neutral calico, then traced their clothing on to the fabric taking inspiration from the photo. 


I did Bernard as my workshop portrait but was conscious that they are very much a pair ... 

I was nervous about how to do the features but the sketchy stitch approach worked really well & I completed his outline in one afternoon alongside the workshop to my great surprise. It is done in single strand embroidery thread which gives it a lighter feel.  I am thrilled with his portrait. The rest of the week was adding in shading in various colours to reflect light & shadows & then finally working on the details on his clothing. I am surprised at the likeness & have been hesitant to do Catherina because I was not confident I would do her justice. 

I find this embroidery stand to be very useful for projects like this because the photo is right in front of you while you work.

However, after almost a month, I traced her on to fabrics using a lightbox, cut out the head & neck & positioned it alongside him. I decided to give her a lacey top as a nod to her Dutch origins. From my painting, it appears that her eyes are a hazel colour (his was blue) so I added that. Her one eyebrow is slightly raised in a quizzical gesture that is very becoming. 

Looking at the pair of them, I think I have somehow managed to sew a slightly younger version of them - about a decade younger than their portrait & that is interesting because it would have been young love. He was a fairly recent German arrival,  she was Dutch;  I loved this combination of heritage in a beloved maternal grandfather. Looking at his parents so closely has somehow connected me more deeply to them & it has been a very interesting new technique. 


I still have to finish the details on her, the fading light is not good for the fine details with single strand embroidery thread so I will come back to her. I kept the threads I used for the first portrait handy which means the two portraits will sit well together. I still need to add in more shading on her hair & face but I am pleased with her … 

The next step is to gently blow hot air from the hairdrier over the portrait to remove the heat pen used to trace in the details. These Frixion pens are brilliant as the marks are gone very quickly with just heat. Without the outline marks, it is now easier to see where the shading needs to be. It is a work in progress ... 

Do you challenge your skills & learn new ones along the way? Tell all .... 

Thank you for stopping by, for sharing or leaving a comment, it is always appreciated. 

Dee πŸͺ‘🧡

Tuesday, 17 December 2024

#12 Circular Stitching - Sparkling frost finishes it off ...

 Thank you to all who have followed my Circular Stitching since January. 

The 11 previous ones are here with links .... 

The last one was Sparkling frost & I went a bit off piste & did not add enough sparkle which I will do this coming week with beads & silver threads. It can be done even though it is now bound. 

Paula has kept us all on track with the Facebook group offering support & encouragement. 

When I joined the challenge in January, I thought I would see how it goes because like many, it is not always easy to see something through to the end over a year. However, by releasing each project at the start of the month, you don't feel overwhelmed by it all. 

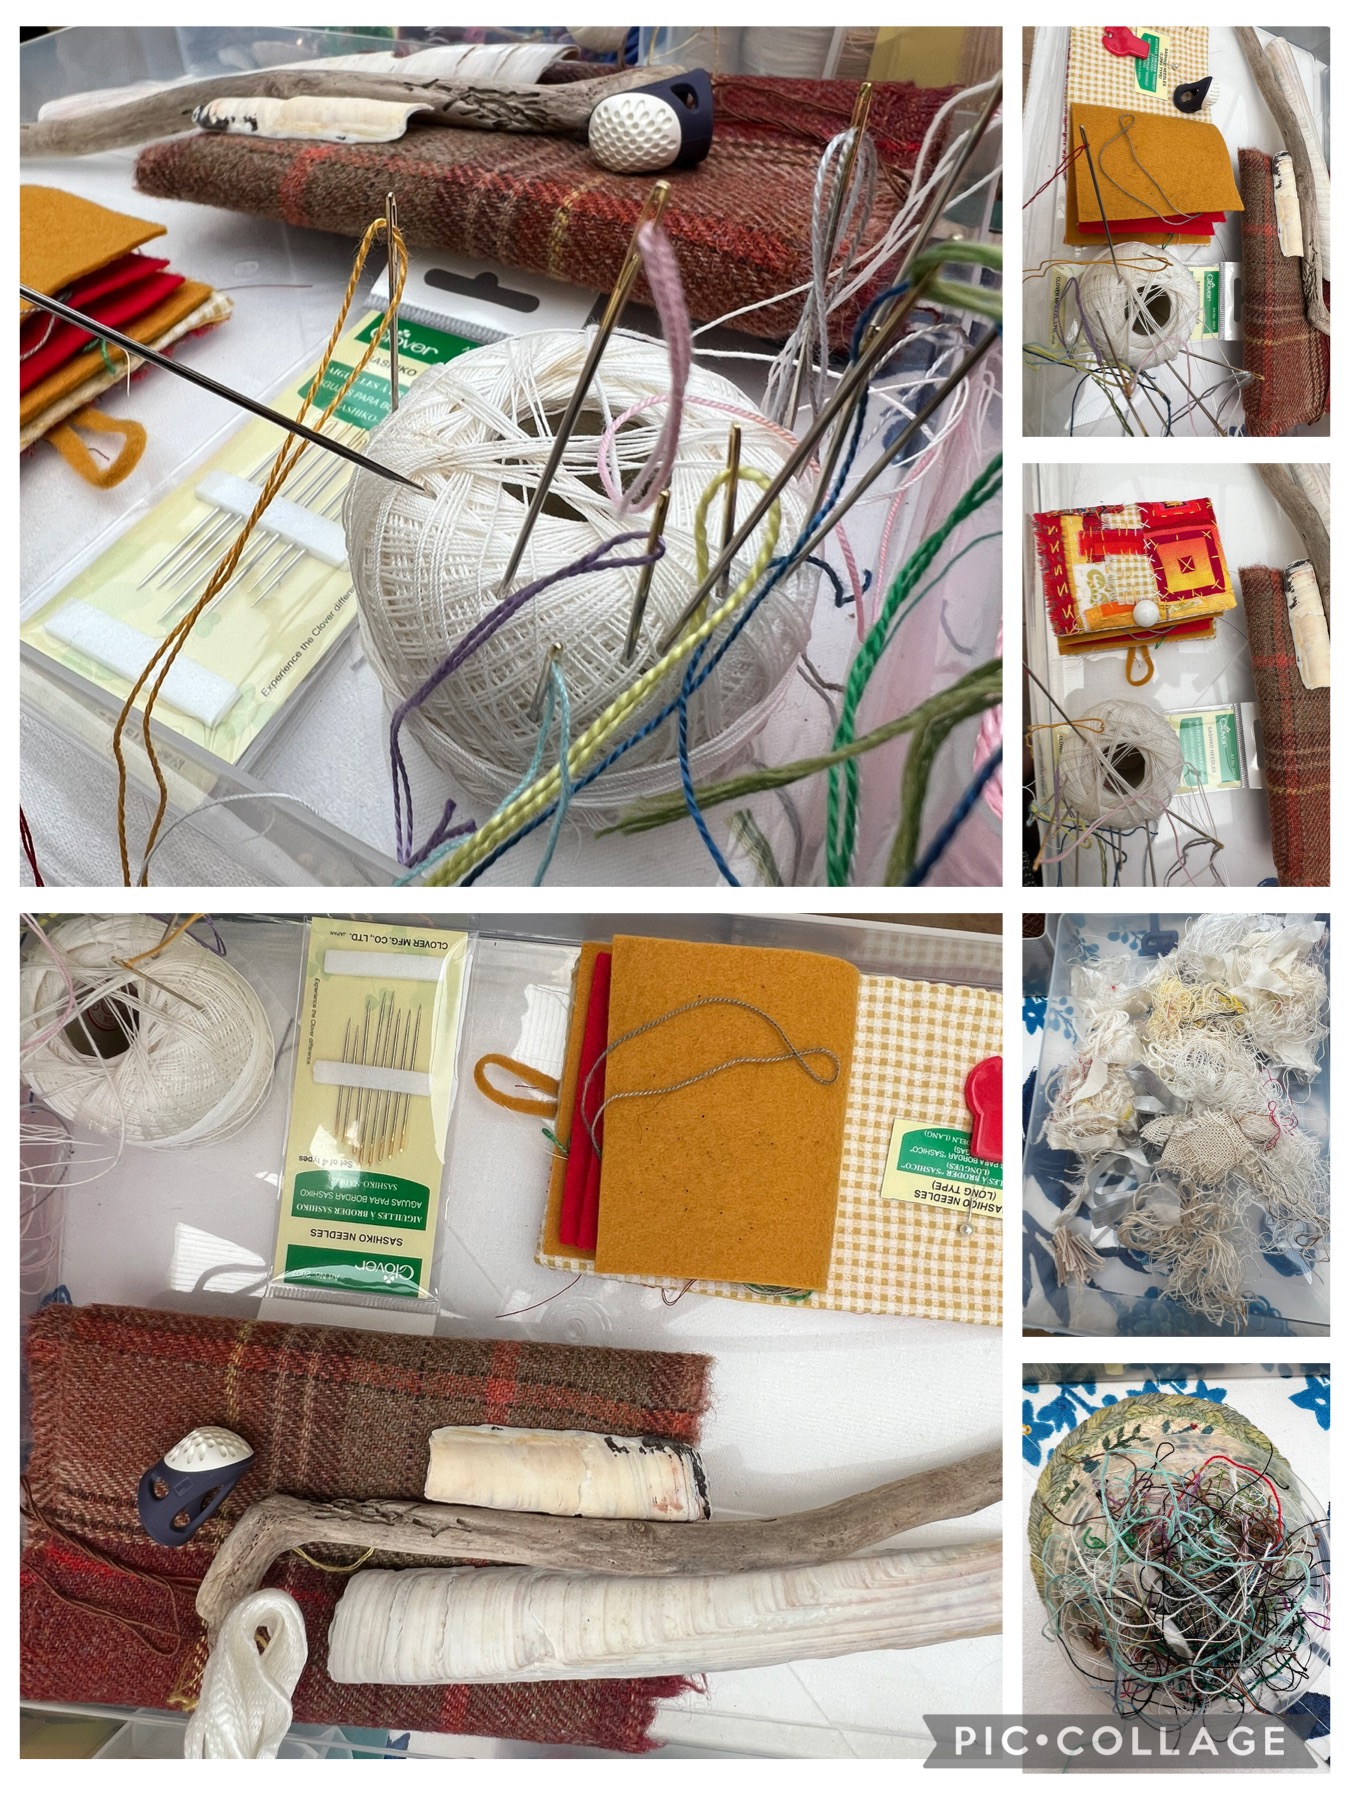
Because it was going to be a uniform 6x6 inch square with a 4inch circle on each, a back fabric with  a stiffener between the front & back layers then blanket stitched together, I cut all the parts plus a few extra & put them in their own plastic container.  I added the large roll of creamy white thread & needle for the blanket stitch edging & so each month, I just needed to get out the fabrics & I was ready to go. 

This preparation was essential for me because some months were busier than others & it helped to keep me on track. The completed ones were then kept in the same container. 

Some in the group embroidered the names on each one, I used the machine letters on my sewing machine & then glued them on the back. With hindsight, I should have done it on white fabric with dark lettering. 

When the last one was done, Paula shared how it was to be bound. 

The pages were going to be overstitched with blanket stitch, going through just the previous stitching, not the fabric. It was actually a really good way to do it & it is a neat construction. The idea is that the 12 pages forms 6 double pages in a star shape but it can be folded flat for storage. 

The final stitching was really quick to do in the same thread as the previous edging. I made a band to hold it together with a large button & some ribbon to wrap around the button. I am tempted to do a bag to drop it in to - I might still have time ... 

I feel I have accomplished what I set out to do & that is a good feeling of satisfaction. Some are better than others but I have stayed the course & that is important. 

My life long learning ethos embraces all things & this has been a great learning experience. Thank you for looking in on the process & leaving a comment. I hope you will be motivated to take up a challenge too in 2025.

Dee ❤️πŸ“πŸ§΅πŸͺ‘

Wednesday, 4 September 2024

#8 Circular Stitching - Seed dispersal

 Looking back over my blog, you might think I spend my life sewing - it is just one of the many things I enjoy & it is easier to record & blog about. It also shows a record of ongoing projects & the progression which I like to look back on. 

I started this circular stitching project in January led my the lovely Paula  & wondered if I would be motivated to follow it for the whole year.  The projects are released each month which makes it manageable & less daunting. It is always new ideas & creative challenges, I like to do new things which challenge us out of our comfort zones. 

All 12 challenges are done on a 6x6 inch square with a 4 inch circular part, stiffened & backed then blanket stitched around the edges. We do not know the final assembly but trust in the process. 

I cut all the pieces - 13 fronts, backs, stiffening middle fabrics & have them in their own holder which means it is easier to follow the challenge as it is ready to work on. This small step has helped to keep me on track each month. 

The 8th challenge in the 12 month circular stitching challenge was about  seed dispersal. 

The 7 previous challenges are

1 - Snow blanket 

2 - Conceal & reveal 

3 - Renewal 

4 New Life & alternate nest 

5 - Blossom time 

6 - From Source to sea 

7 - Radial Symmetry 

The one for August was about seed dispersal of dandelions through the various stages of growth. It suggests making suffolk puffs which I know about but have never actually made, even though they are so easy to do. I underestimated how tiny they would pull to or I would have doubled the starting circle size for them. This is an interesting use for them 

I used a piece of printed fabric in greens & yellows for my circle, then did 3 Suffolk puffs in yellow & 2 in white fabric & then stitched them on to the circle. The white ones were the seed dispersal ones with threaded seed lines radiating out. I thought it needed beads to give it texture so those were added to give the lightness dandelion seeds need. 

The bottom half was overstitched to the backing square, the top half secured by the stitches of the seeds. 

Three sides were sewn together, the stiffening square cut to size (rounded tops for insert it easier) and then the sewing completed. I have machined stitched the edges of all mine before blanket stitching because the white linen I used tends to fray & the line of machine stitching makes it more secure. 


It is all done, just the backing name to machine embroider with the next one. I used clear beads on the white seeds to suggest a lightness to them & let them spill over on to the outer fabric which I like with the white on white stitching. 

It is an interesting project because each has been different & I know what September's is already & that is a new one too. 

Do stop by soon to see the next one. Do you have  a project you are working on? Tell all please & thank you for stopping by, 

Dee 🧡πŸͺ‘🌼🌱

Sunday, 11 August 2024

Going where the needle takes me on a NC500 sewing scroll ....

 I hope you enjoyed some previous posts about our recent trip exploring the North Coast of Scotland ... 

I often blog (alongside a travel journal) so the details are at hand for future reference. 

This was our NC500 Scottish trip = 

#1 - Exploring Scotland's Black Isle

#2 - Easter Ross along the coast

#3 - Wick & Sinclair castle

#4 -  The North Sea & coast of Scotland

#5 - Western Sutherland to Ullapool

#6 - Wester Ross to Skye

#7 - Crossing paths with the Picts in Scotland

After a busy year of working closely with pupils & their families as an Elective Home Education tutor, I like to take time to just clear the mind completely in our summer break before new academic diaries are filled with the overflow from the previous year. 

This year we do not have an international holiday booked so can enjoy the luxury of filling the day as I please & that is a huge privilege & pleasure for me. 

I have several sewing projects on the go, a monthly circular stitching one, a 100 day one (that has faltered as I have done other things)  and on a whim I took a length of white linen (that I use for many projects, I decided to start a Scottish scroll.  

     
There was no plan; just doodling with needle & thread to see where it goes, trusting your skills to take you where it will. That is the best sort of stitching for my intuitive mind. I am not a pattern follower at all, I like to just make it up as I go along & this is what I did. 


I moved some threads, cottons, a hoop & bits to the conservatory table which has a lovely view of the garden & then looking at my trip photos & a book we used along the way, I lightly sketched out some outlines with a frixon pen (heat erasable pen used in sewing) and decided I wanted to outline in black. I was not even sure I wanted to fill in, just stitched & outlined as I went along, completely without thought to scale, placements or timeline - just stitching for the pleasure of the repetitive nature of thread through fabric which is almost meditative. 

Somehow the outlines filled up the 150 cm fabric scroll, my interpretation of the scenes I had encountered & enjoyed. It is  intuitive, primitive stitching, none of the perfect scenes that are found commercially. I do not consider myself to be a textile artist, just a lover of textiles & art. 

My mother was a great embroiderer & sewer, as was her mother & grandmother.  They were more precise with their stitches - there was no quick online search to remind you of stitches etc somehow they were ingrained in their minds.  Their work was as neat on the back as the front but their work had purpose - tray & table cloths, clothes, crochet doilies, bibs for babies, covered coat hangers, cushions, sports bags - they did not baulk at making anything.

My sewing is more for pleasure now (though I did a special harvest apron recently) & I often browse instagram & pinterest for ideas & inspiration but that can be limiting because you get bogged down in too much detail & that hinders the doing. 

This is the conservatory where I have been working - the long rectory table taken up by beads, a felting sponge & stabber, multiple containers of threads of all sizes & colours, & of course multiple needles. 

Who else has loads of needles loaded up with all sorts of colours at the same time? 

I decided that I did not want to add fabrics to this scroll - I wanted the details to be in threads only. The reason being that fabrics would introduce too much choice & distraction again -   you know how you get side-tracked looking for a particular book then sit on the floor with books you have rediscovered? Fabrics are the same - too much choice is distracting. 

So I just dipped in to the container of threads & used threads for the details - lots of choices of shades in the various colours - a challenge to think of stitches for each part (a simple running stitch can be so versitile) & then trusty favourite stitches I use like French knots, fly stich, whipped running etc 

At Sinclair castle, I had pulled some sheep fur from the wire as we walked back along the windswept coast & I picked up another little bit of darker wool near Ullapool so I outlined some sheep & felted in the bits of wool I picked up. 

I picked up a large straight shell, some small drift wood & other shells on the beach at Dunnet Links, Strathy & Farr beaches & at Skerray Bay, so I decided to add a  beach to the scroll.  Some of the sheep wool was again felted / jabbed on to the linen as the soft, white sands of those stunning beaches & then beads were added.  Beading is best done in good light as the needles are so thin & the thread is fine too but the effect is worth it. 

Because the scroll was unplanned, the width is too big for my vintage wooden bobbins - however, the driftwood & shell will make good bobbins to wind the work around. That is the final step - backing the untidy reverse side with a lovely soft purple linen which will be handstitched to the 150cm scroll & attaching the driftwood support parts. 

You will have to come back for that finished bit in about a week. 

What is keeping you busy at this time - tell all. Thank you for your company, it is always appreciated. 

Dee 🚣‍♀️πŸš™πŸͺ‘🧡🧢 🐚πŸ¦ͺ🌊⛰️

Thursday, 7 March 2024

#3 Early Spring renewal circular sewing ...

 Hi all, 

I have had a little break away at the seaside, revisiting some places I have not been to in ages. I love visiting places again because you enjoy them all again  ... 

However, I am back now & am on to the third of eleven monthly stitch projects for the Circular stitching project. 

The first was - 

Mid winter - snow blanket

Late winter - conceal & reveal 

Early spring - renewal. 

The brief remains a 6x6  inch square with a circle in the centre. The squares will stiffened, backed, edged then sewn together right at the end.

My colour choices for early spring ... 

It has been such a fun brief each month & the pressure is off when  you have a whole month to stitch. 

I confess that I still need to do the stiffening layer for the first two months then back  & edge them but I am thinking of doing the first three at the same time ... 

This months brief was the emerging spring life / blooms. Each project has to have the circular element. This one advised the circular blanket stitch I had tried out in various projects previously so I was confident in using it. 

I used a circular piece of lace as the guide size on my square & I find that stitches look better on a double layer of fabric. These stitches look better in varigated thread so I decided on the yellow / orange threads for the circular stitching which gave it an interesting tone. 

It is easy to do identical stitching but I think a variety of lengths & sizes works better. I off centred the stitching too to break away from the rigid circular shape. 

I filled in the centre with green, orange & yellow french knots. I am tempted to add a few beads in between the knots but that is best done in day light as it is a fiddly job. 

I am rather pleased with the start of it .... 

What projects are you busy with at the moment? Are they a group led or something you are doing by yourself? Tell all ... 

Thank you for stopping by, your company & comments are always appreciated. 

Dee πŸ“πŸ§΅πŸͺ‘


Sunday, 5 November 2023

The sideboard needs festive bunting ....

As soon as it is November, thoughts turn to the exevitable march of time & the festive season. Last year I made some felt decorations that the little ones can put on the tree & carry about safely. Friends asked for some too so I did adult ones with beads, ribbons & bells to pop in to Christmas cards & they were well received.

I made some little bunting for my sideboard for the coronation of King Charles & I loved the little fabric flags on the shelves. 

I thought I might do something similar for the festive sideboard. We always use the plates, bowls, mugs, dishes etc off the shelves over the festive season so it has to  be practical yet stylish because we will be looking at it for several weeks. 

I love hand sewing as all the regulars know - the calming rhythm of the needle & thread is something I have always done. It does not need to be perfect (it isn't) but it needs to be something that sparks your imagination & is special .... 

I had a vague idea that I wanted them to be little images that are made up of fabric & stitches, lightly padded & all different, yet in a similar colour palette. 

I sketched some ideas on a paper, found my container of Xmas Fabrics & started to work.  The first one was slow but then the last three were all cut, hand stitched with various embroidery threads from my collection then the edges were hand sewn with my favourite blanket stitch. I left a little part open while doing the edges so I could lightly pad them before finishing. Completed in one afternoon, finishing the stitching just as the light faded.

I know that in the morning light I will be tempted to add beads, little bells or such embellishments to them still but that makes them personal to me. 

They are the first of them as I now have several ideas still in my head.  I am fortunate that I can leave the things on the conservatory table for some days to work on which helps as I can work on them between other things. Will you be making anything for the festive season? Tell all ... 

Thank you for stopping by, please share so I can hopefully grow my blog a bit more ... 

Dee 🧡πŸͺ‘